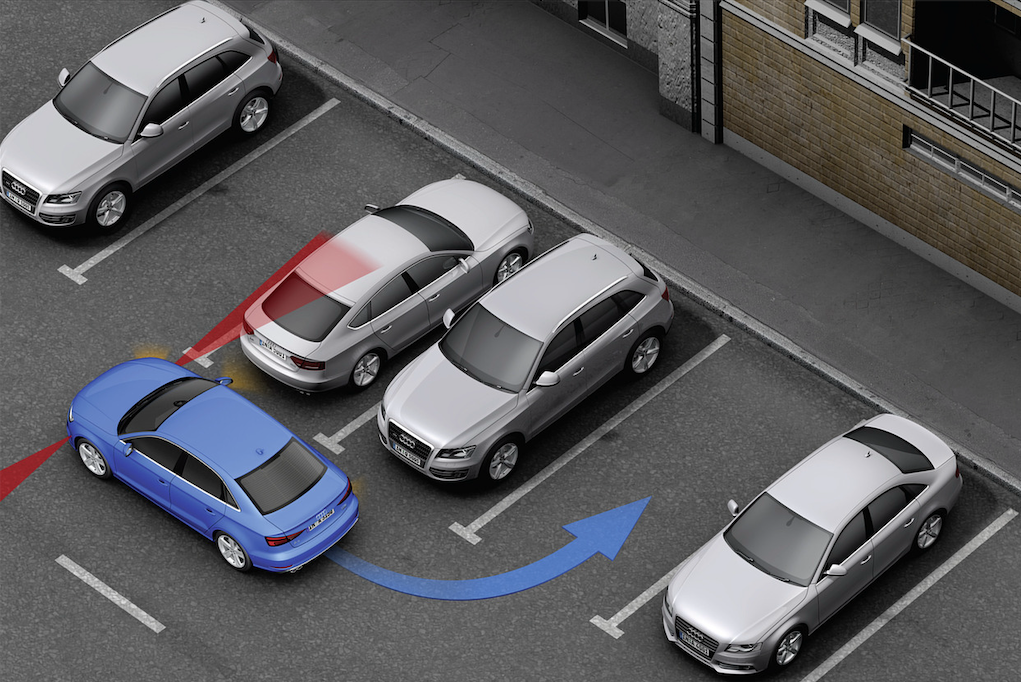
Even before buying the car, I knew for sure I wanted to add the automatic parking assistant. A button panel that wasn’t fully populated would have driven me crazy. So I started preparing in advance and picked up all the necessary components.
AliExpress sells ready-made kits both for installing PLA from scratch and for the 8K → 12K upgrade. It was exactly that upgrade kit I ordered.
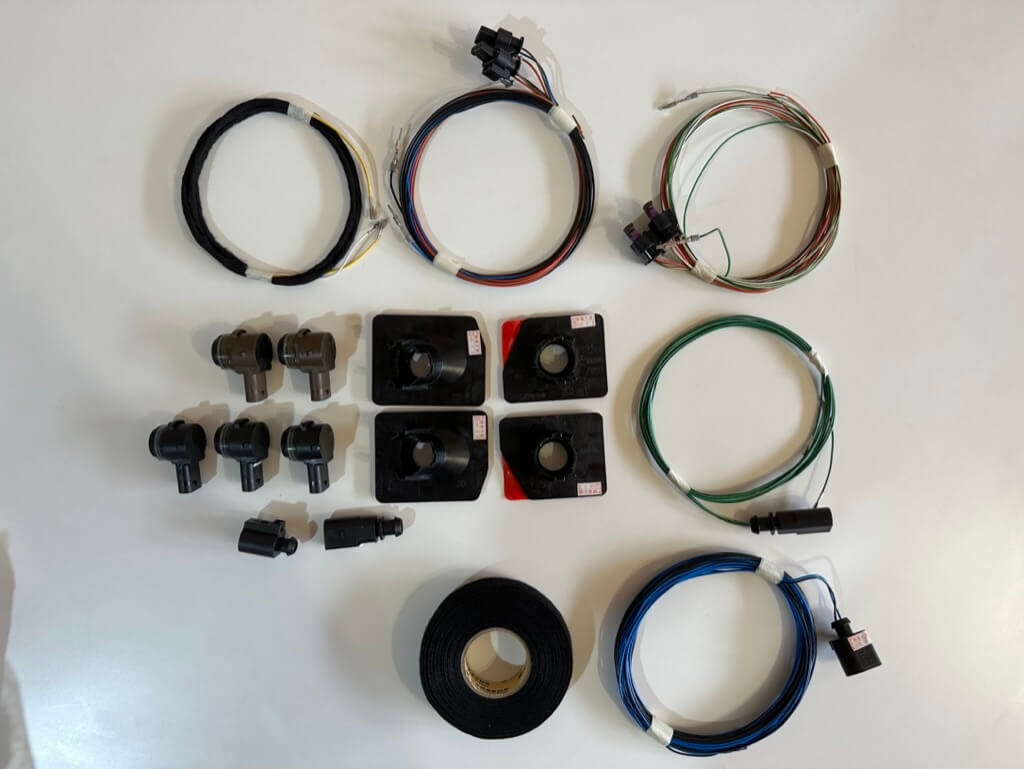
The kit consisted of 2 front and 2 rear parking sensors, sensor mounts, wiring, connectors, and fabric tape.
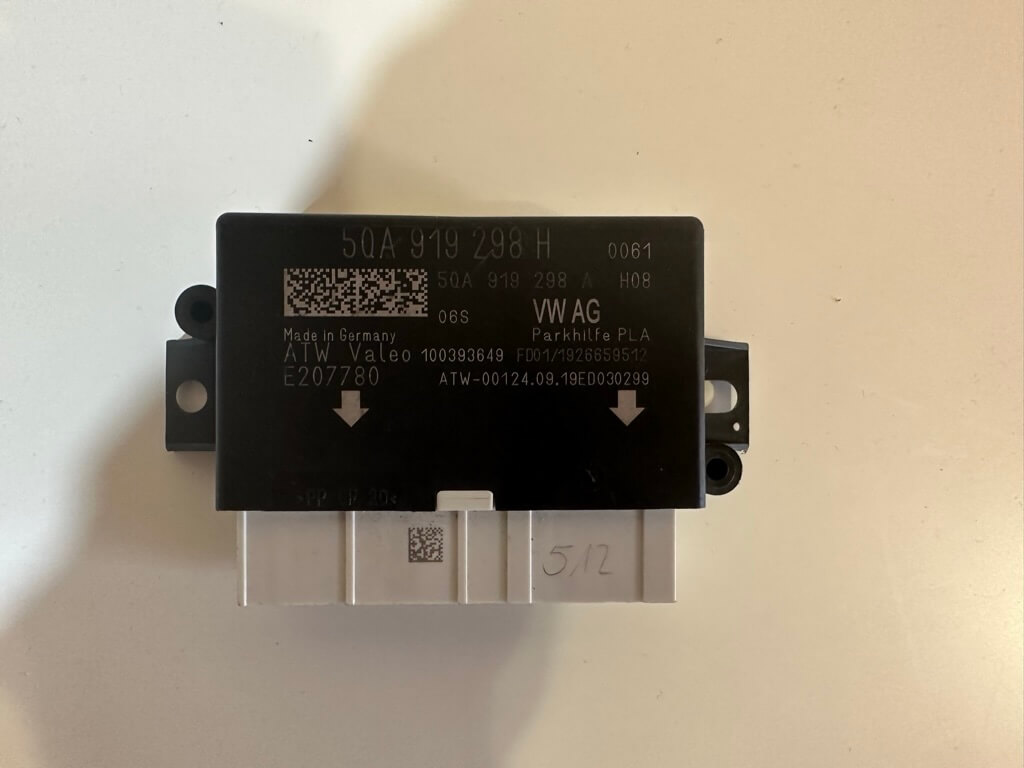
I looked up the latest PLA unit for my model in ETKA – 5QA919298H. Found this unit used on Allegro. Ordered it, and a week later it was already with me.
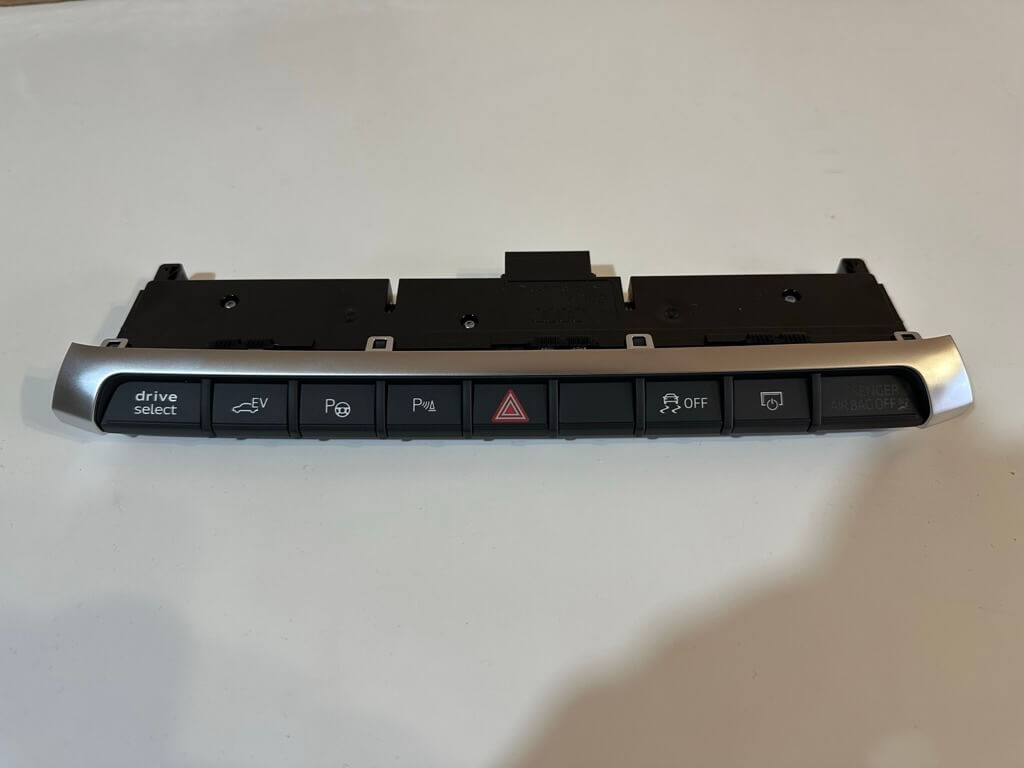
And to complete the set, all that was left was to find the button panel (the “piano”) with the parking assistant button. In the US, the Audi A3 e-tron was never fitted with PLA, so you can’t find a US-market button panel from a donor car. So I ordered a new panel straight from the factory, part number 8V0925301PN.
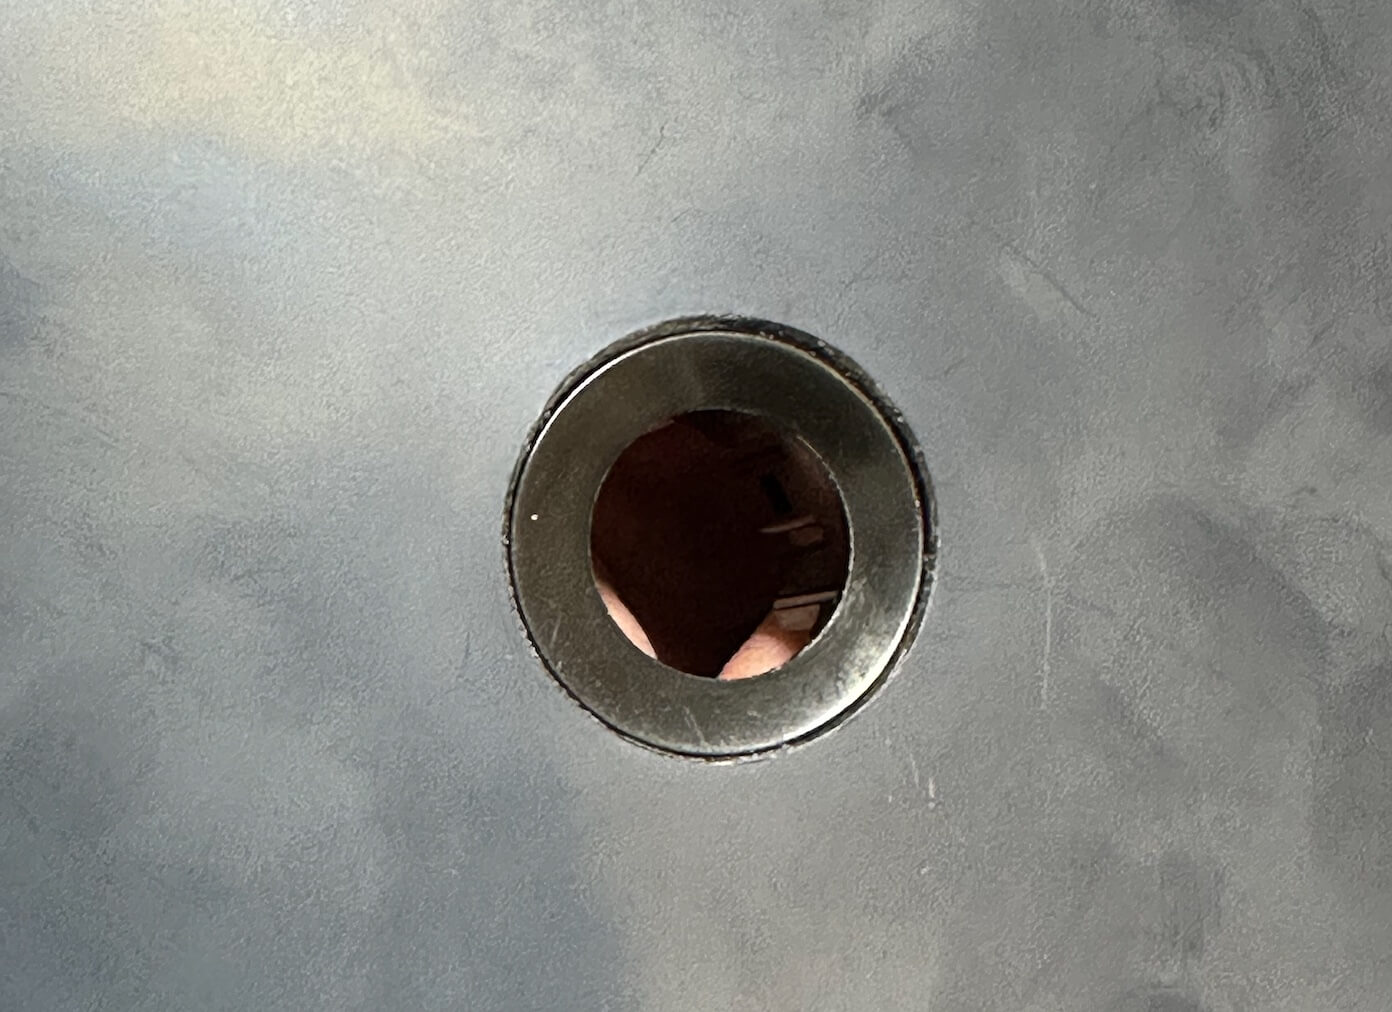
While the car was still in transit, I’d already bought most of the parts, including the rear bumper — but I messed up a bit and ordered one for regular parking sensors, without the side holes. I had to make the side holes for PLA myself. For that I picked up a hole saw. Making holes in the rear bumper isn’t complicated at all — you just need a 30mm-diameter hole.
After that I was just waiting for the car to arrive in Ukraine so I could continue the PLA retrofit.
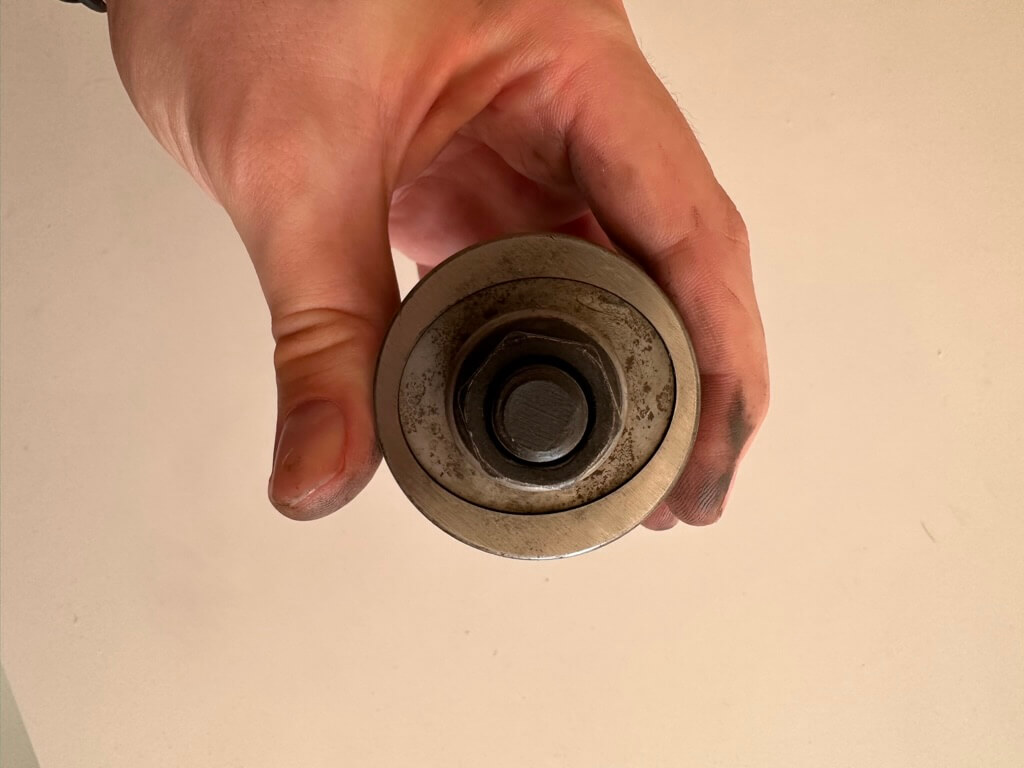
I picked the PLA work back up once the car had arrived in Ukraine, been repaired, and registered. What remained was the hardest part — making the side parking sensor holes in the front bumper, where they’re oval(!). To punch oval holes I picked up an oval hole punch on AliExpress.
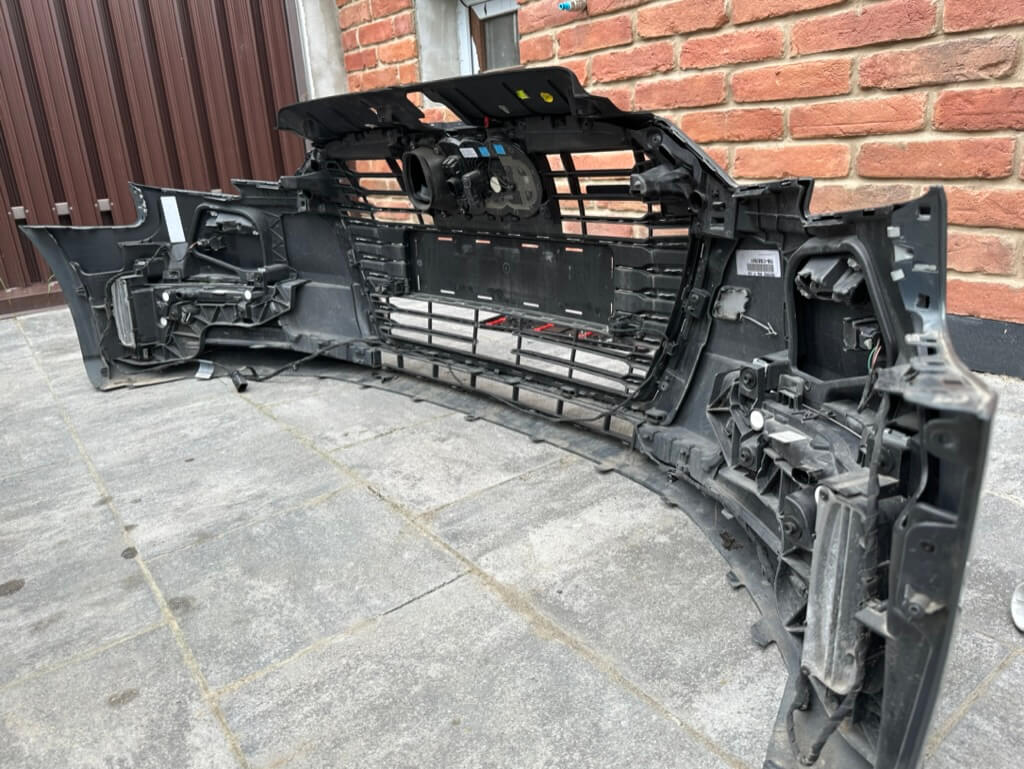
Next I needed to remove the front bumper, which is also no easy task, but I managed to get it done somehow.
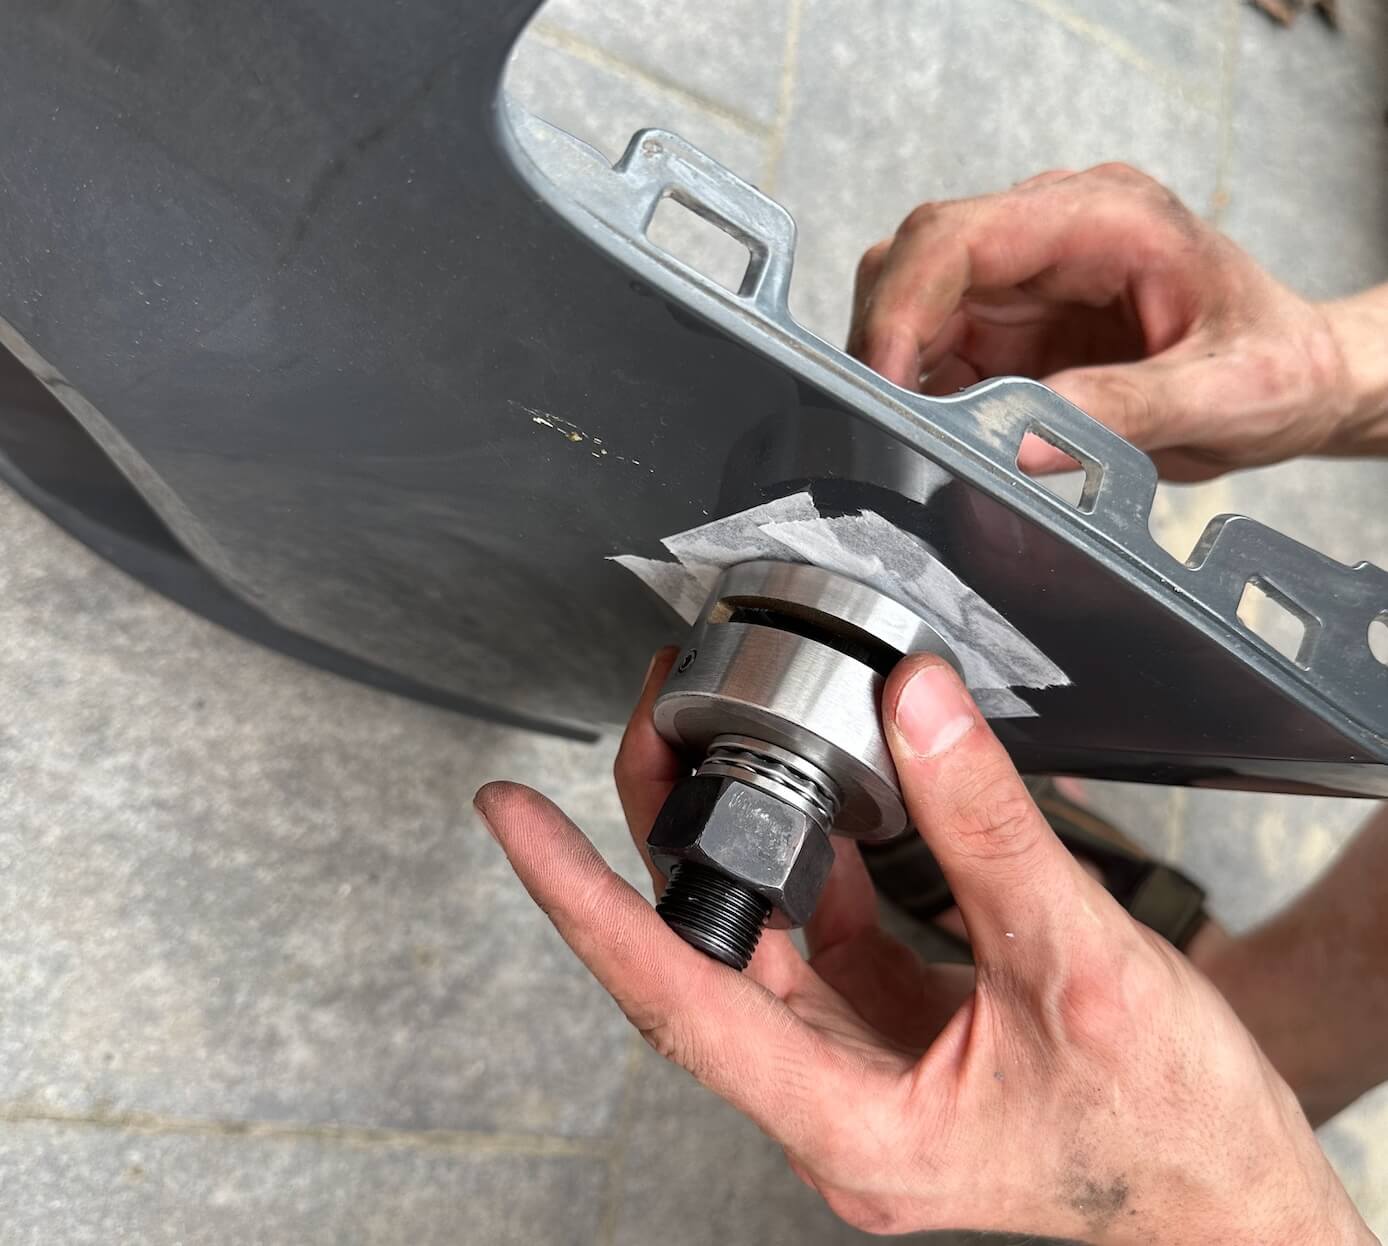
Then I punched the oval holes for the sensors — the punch handled it with flying colors.
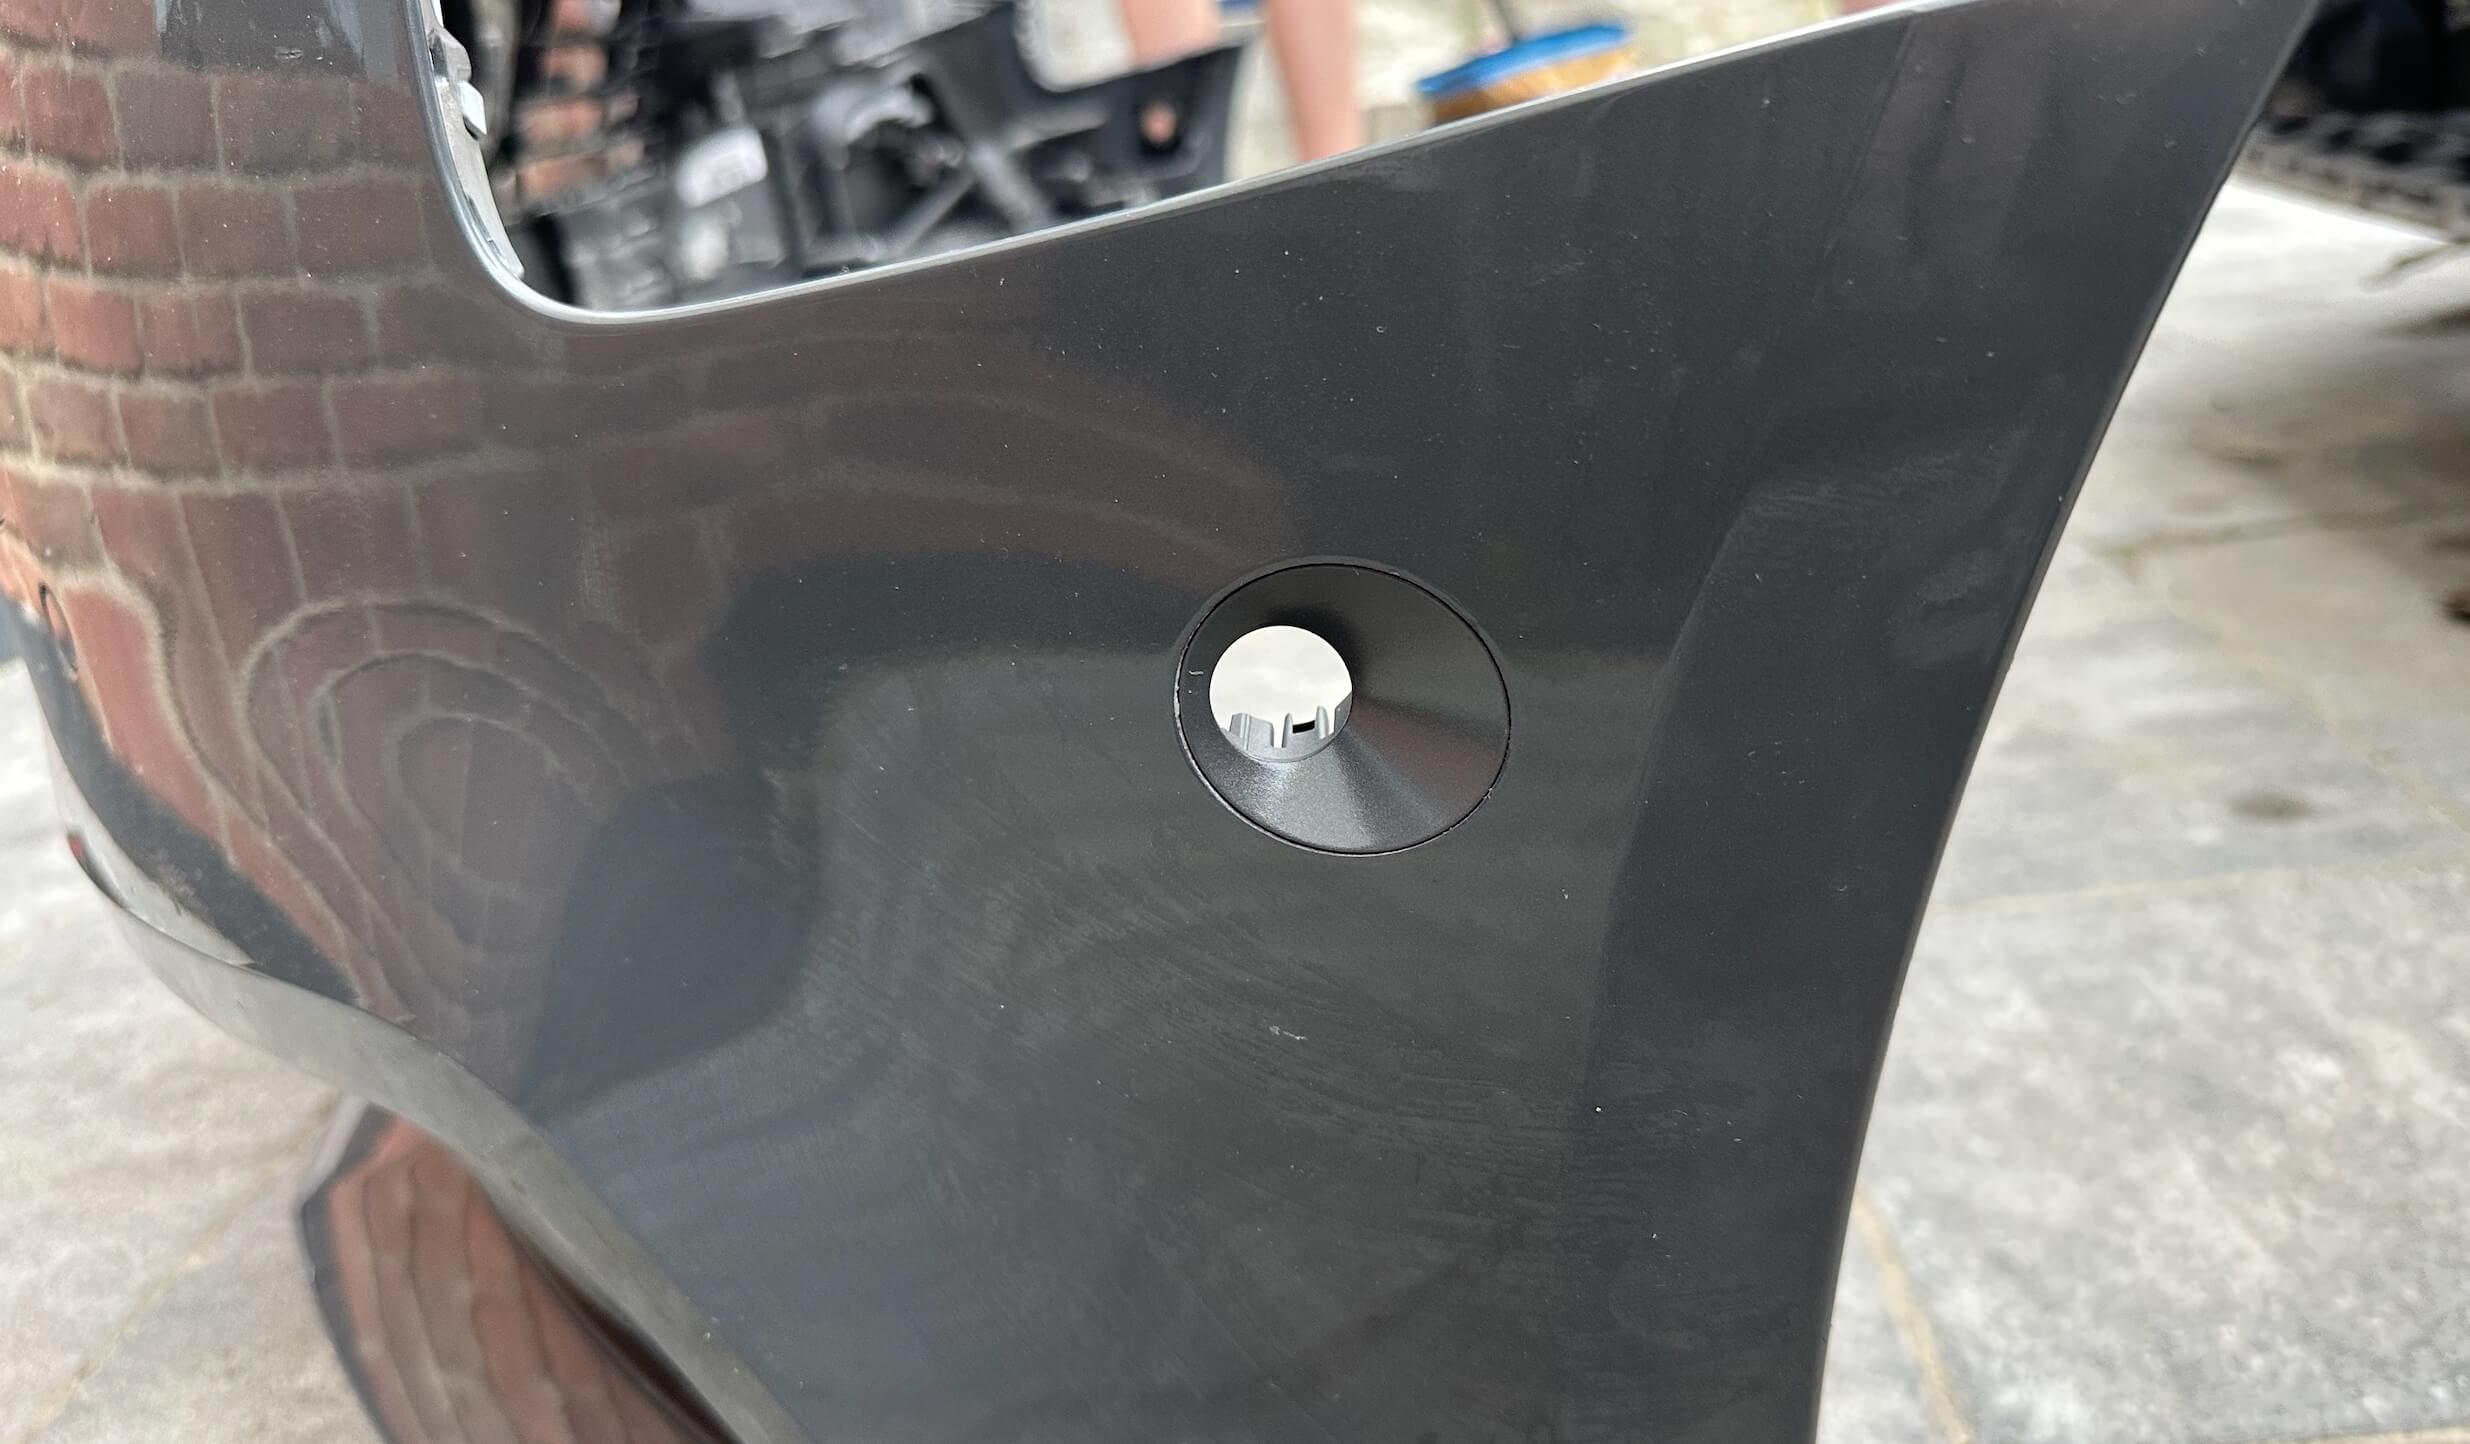
Next was routing the wiring — part of it had to be tapped into the existing parking-sensor harness (that’s power and ground), while the signal wire (one per sensor) needs to be run separately; in the end two wires need to be routed into the cabin. From the factory there’s a rubber grommet behind the power unit for this — pierce it and you can run the wires into the cabin, remembering to wrap them with electrical tape beforehand. For the rear bumper wiring you do the same thing, except now the wiring runs the whole length of the cabin along the left sill.
Next you need to swap the button panel and pin the new button. The button panel comes off using the same special tools used to remove the MIB unit.
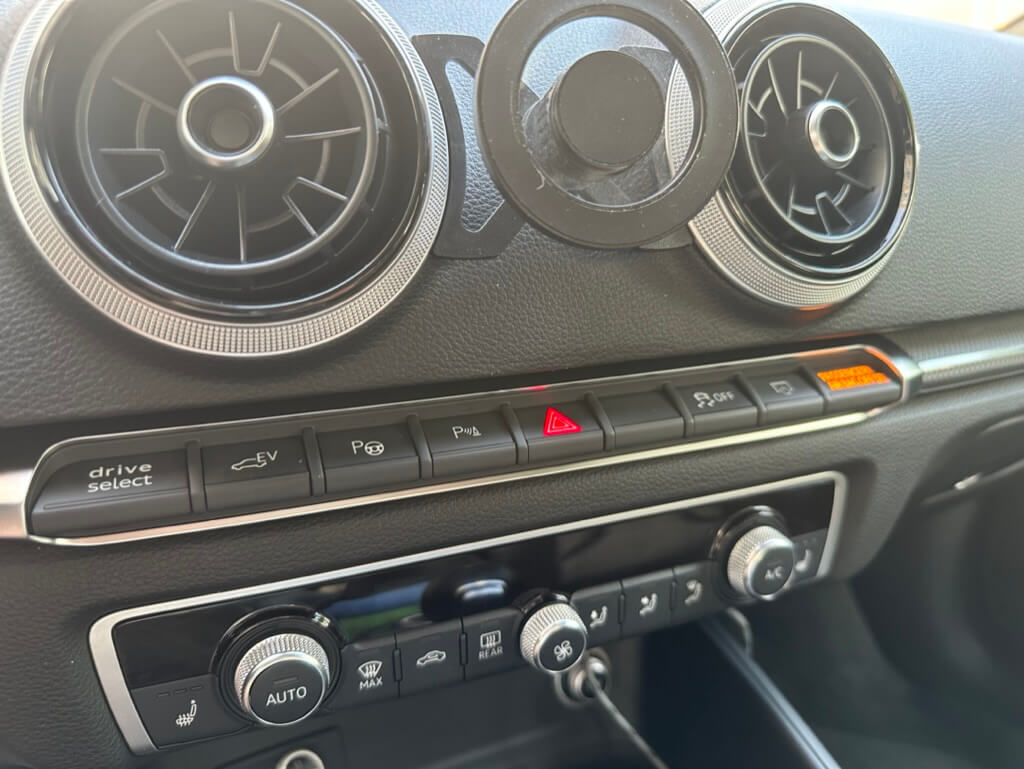
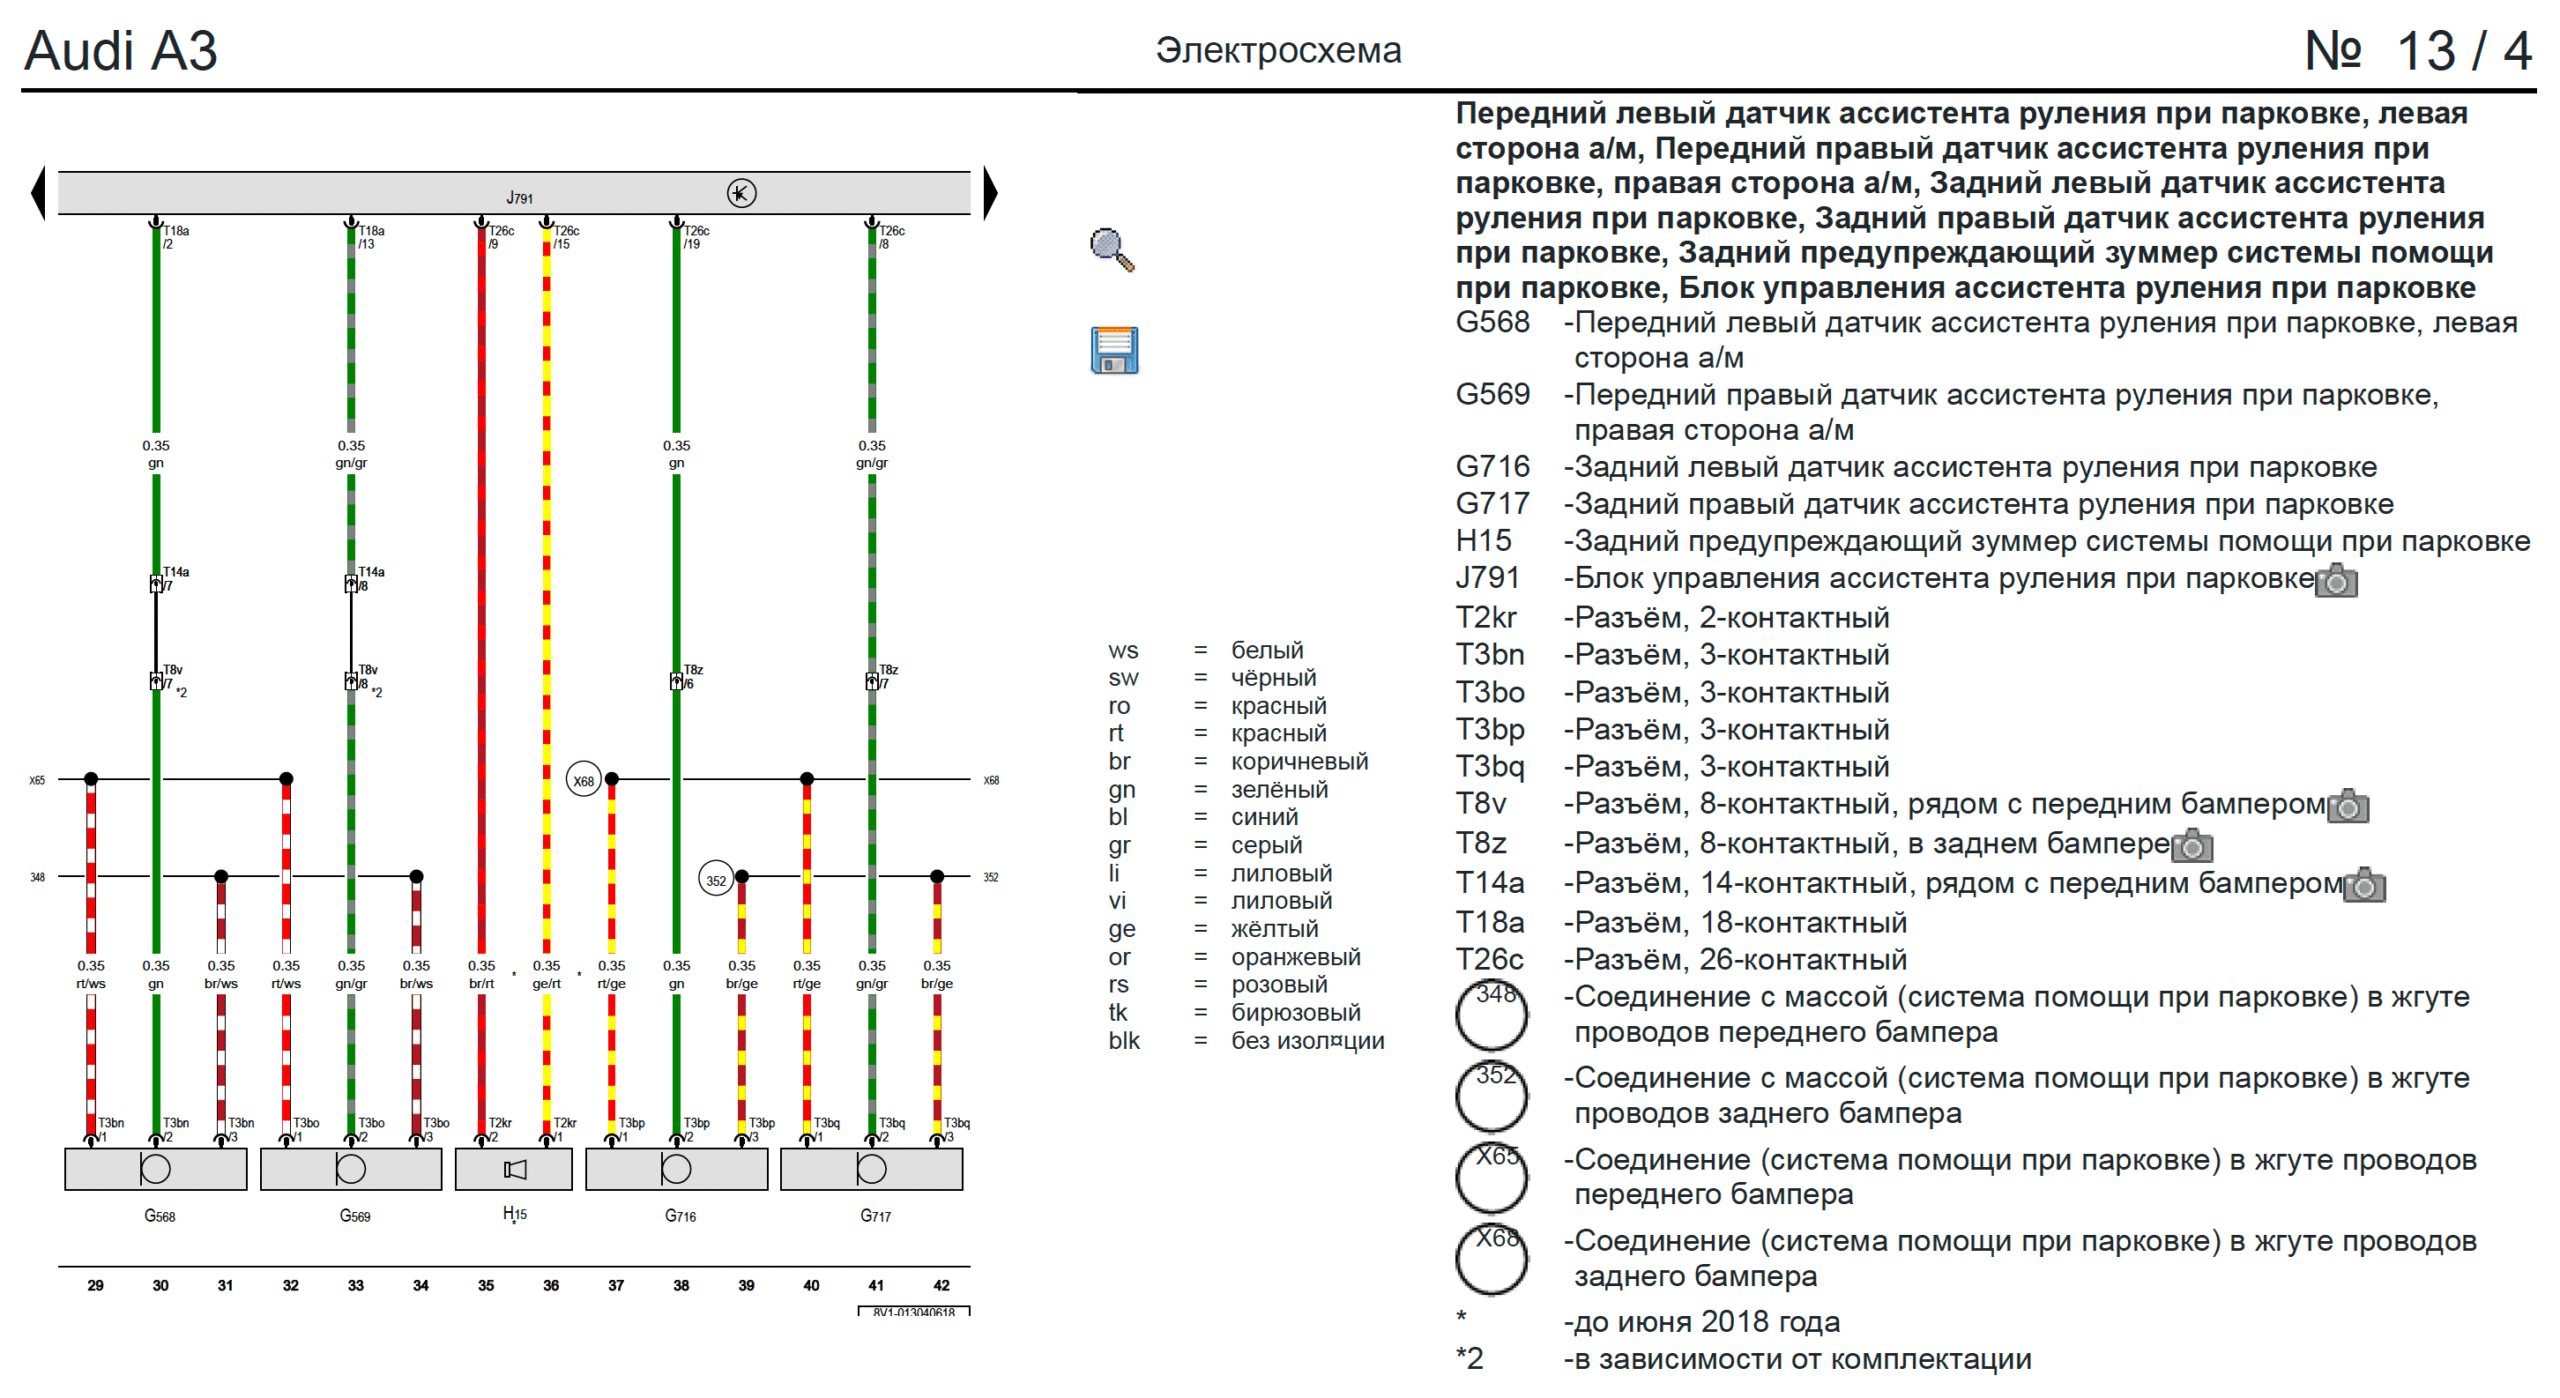
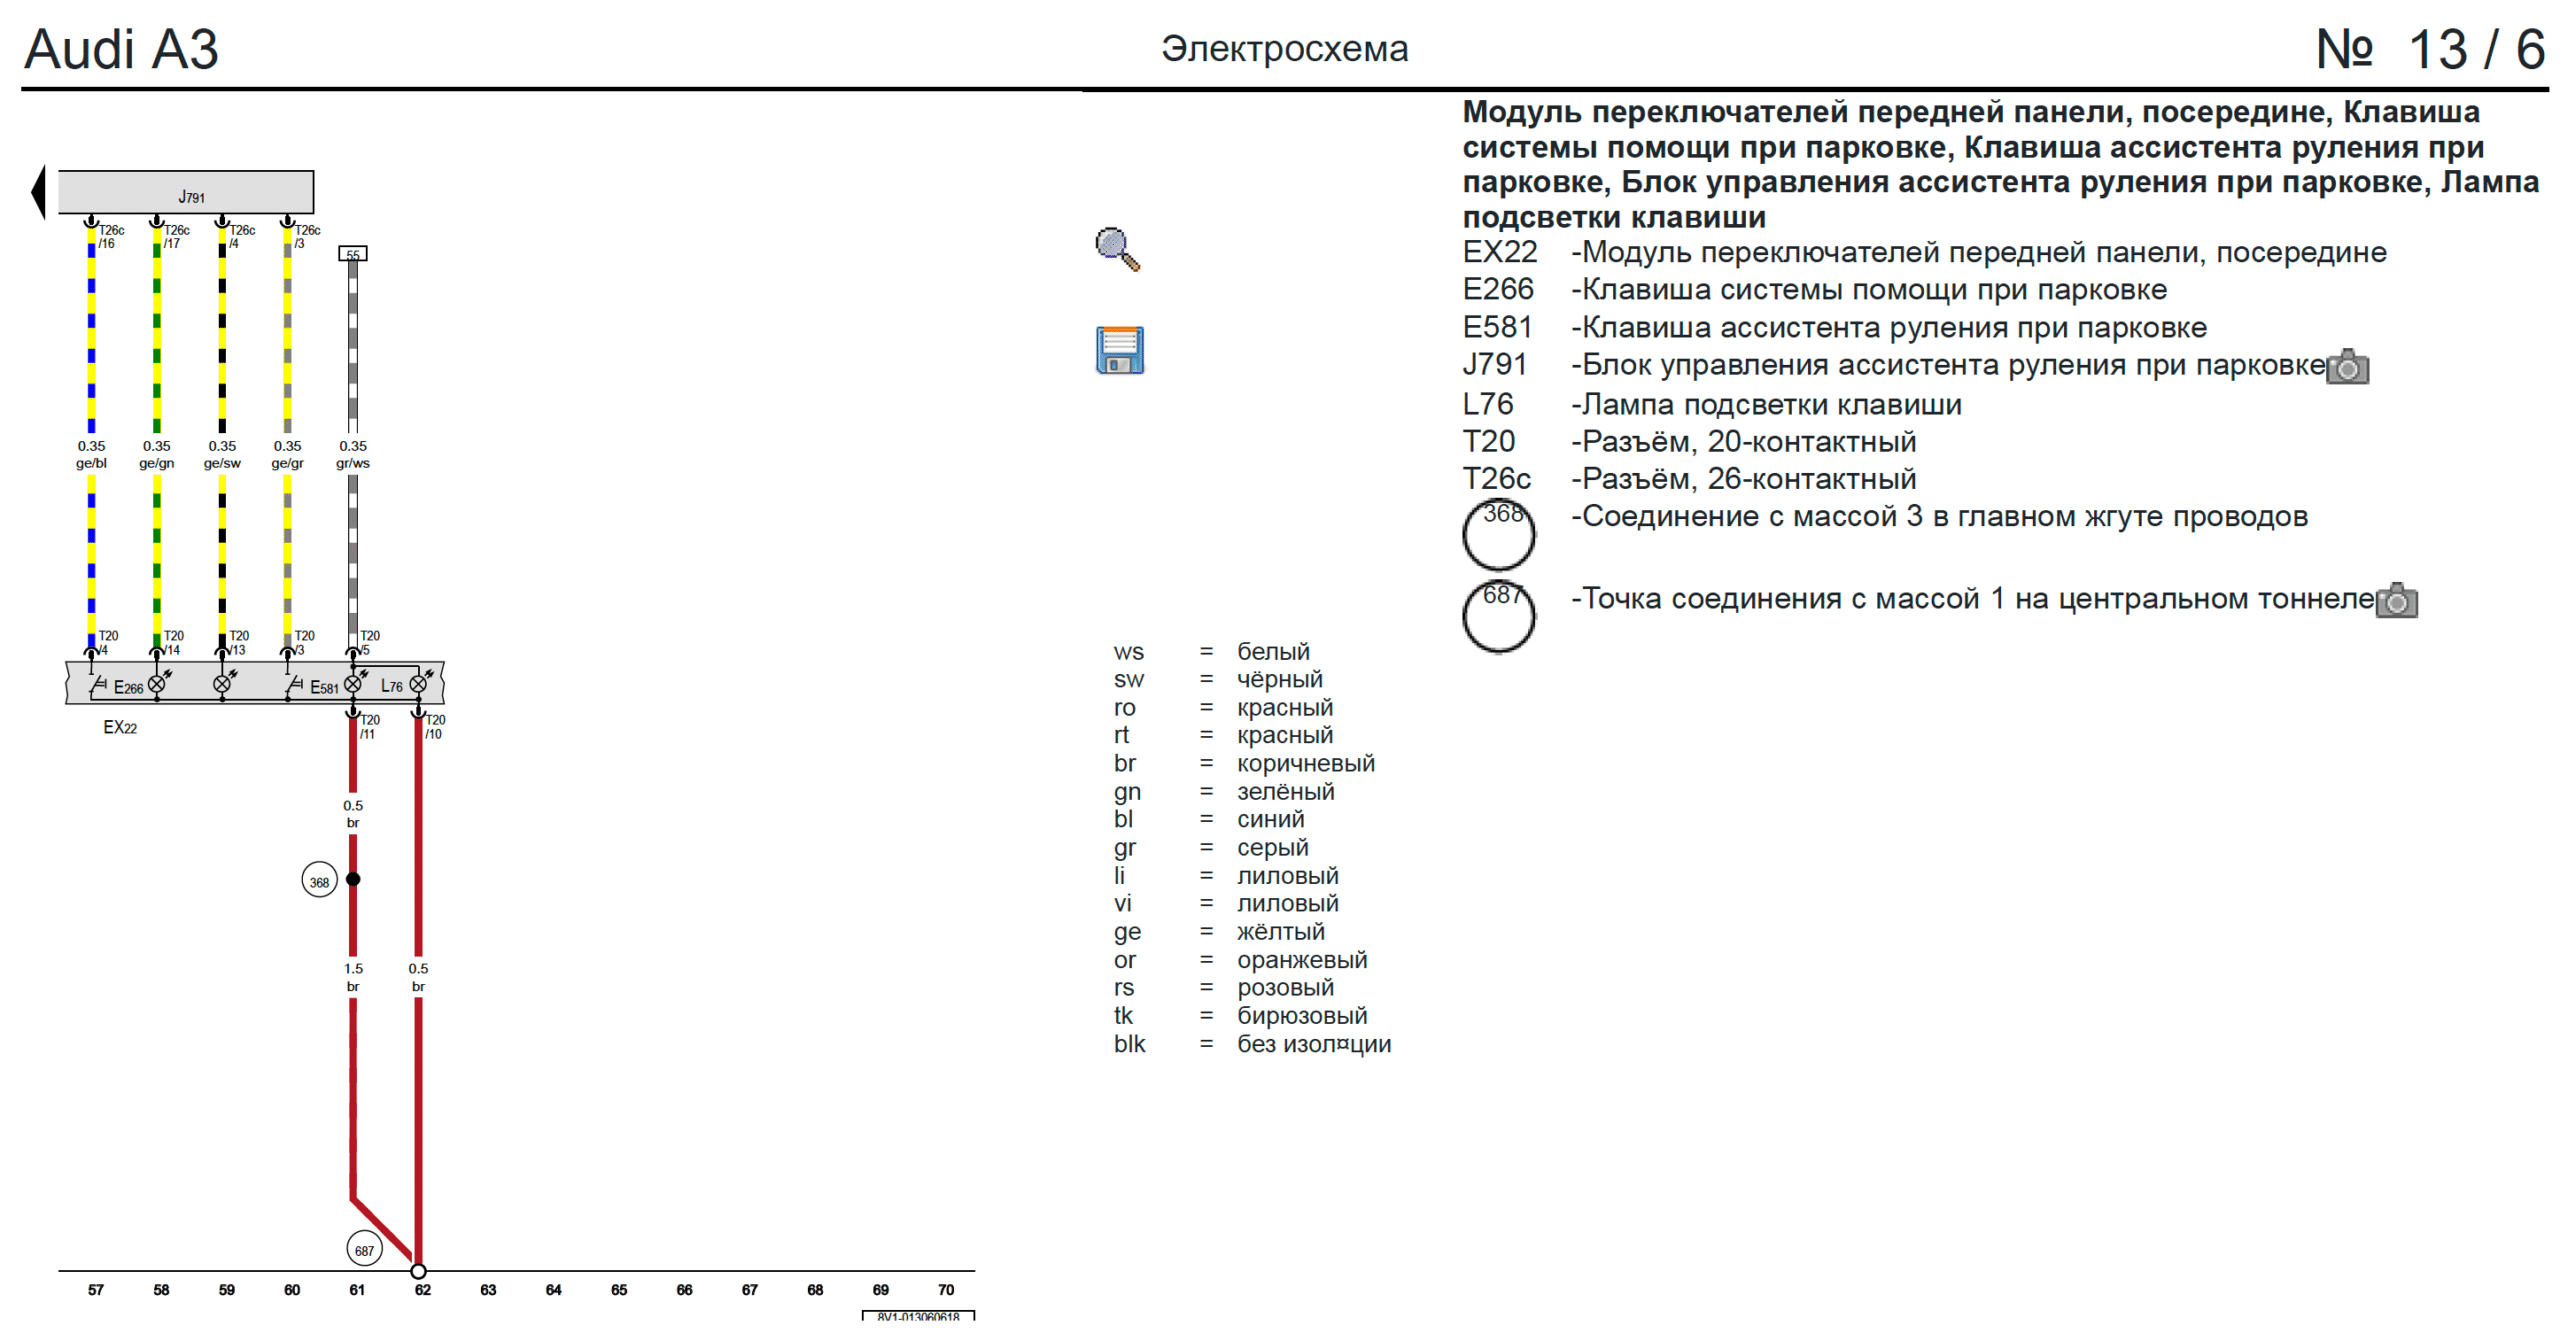
All the wires you’ve run to the parking sensor unit need to be pinned — go by the diagrams from ELSA.
The front sensors connect to connector T18a: left to pin 2, right to pin 13.
The rear sensors connect to connector T26c: left to pin 19, right to pin 8.
To enable the automatic parking assistant, you need to run two wires from the central button panel to the PLA unit: T20/3 → T26c/3 and T20/13 → T26c/4.
Next you code these control units: 3. ABS, 17. Instrument cluster, 44. Steering wheel, 10. Parking assistant.
Activating and running the automatic parking process is fairly simple. When you want to use auto-park, press the auto-park button, and as you drive along, the car will search for a parking spot and show its availability on the multimedia screen; you can choose which side to park on using the turn signal, and once you’ve selected a spot you can specify the type of parking maneuver and then just follow the prompts on the multimedia screen. During the auto-park process you need to keep your foot on the brake, gradually easing off to let the car park without any jerky movements — the prompts will also tell you when to shift into reverse or drive.
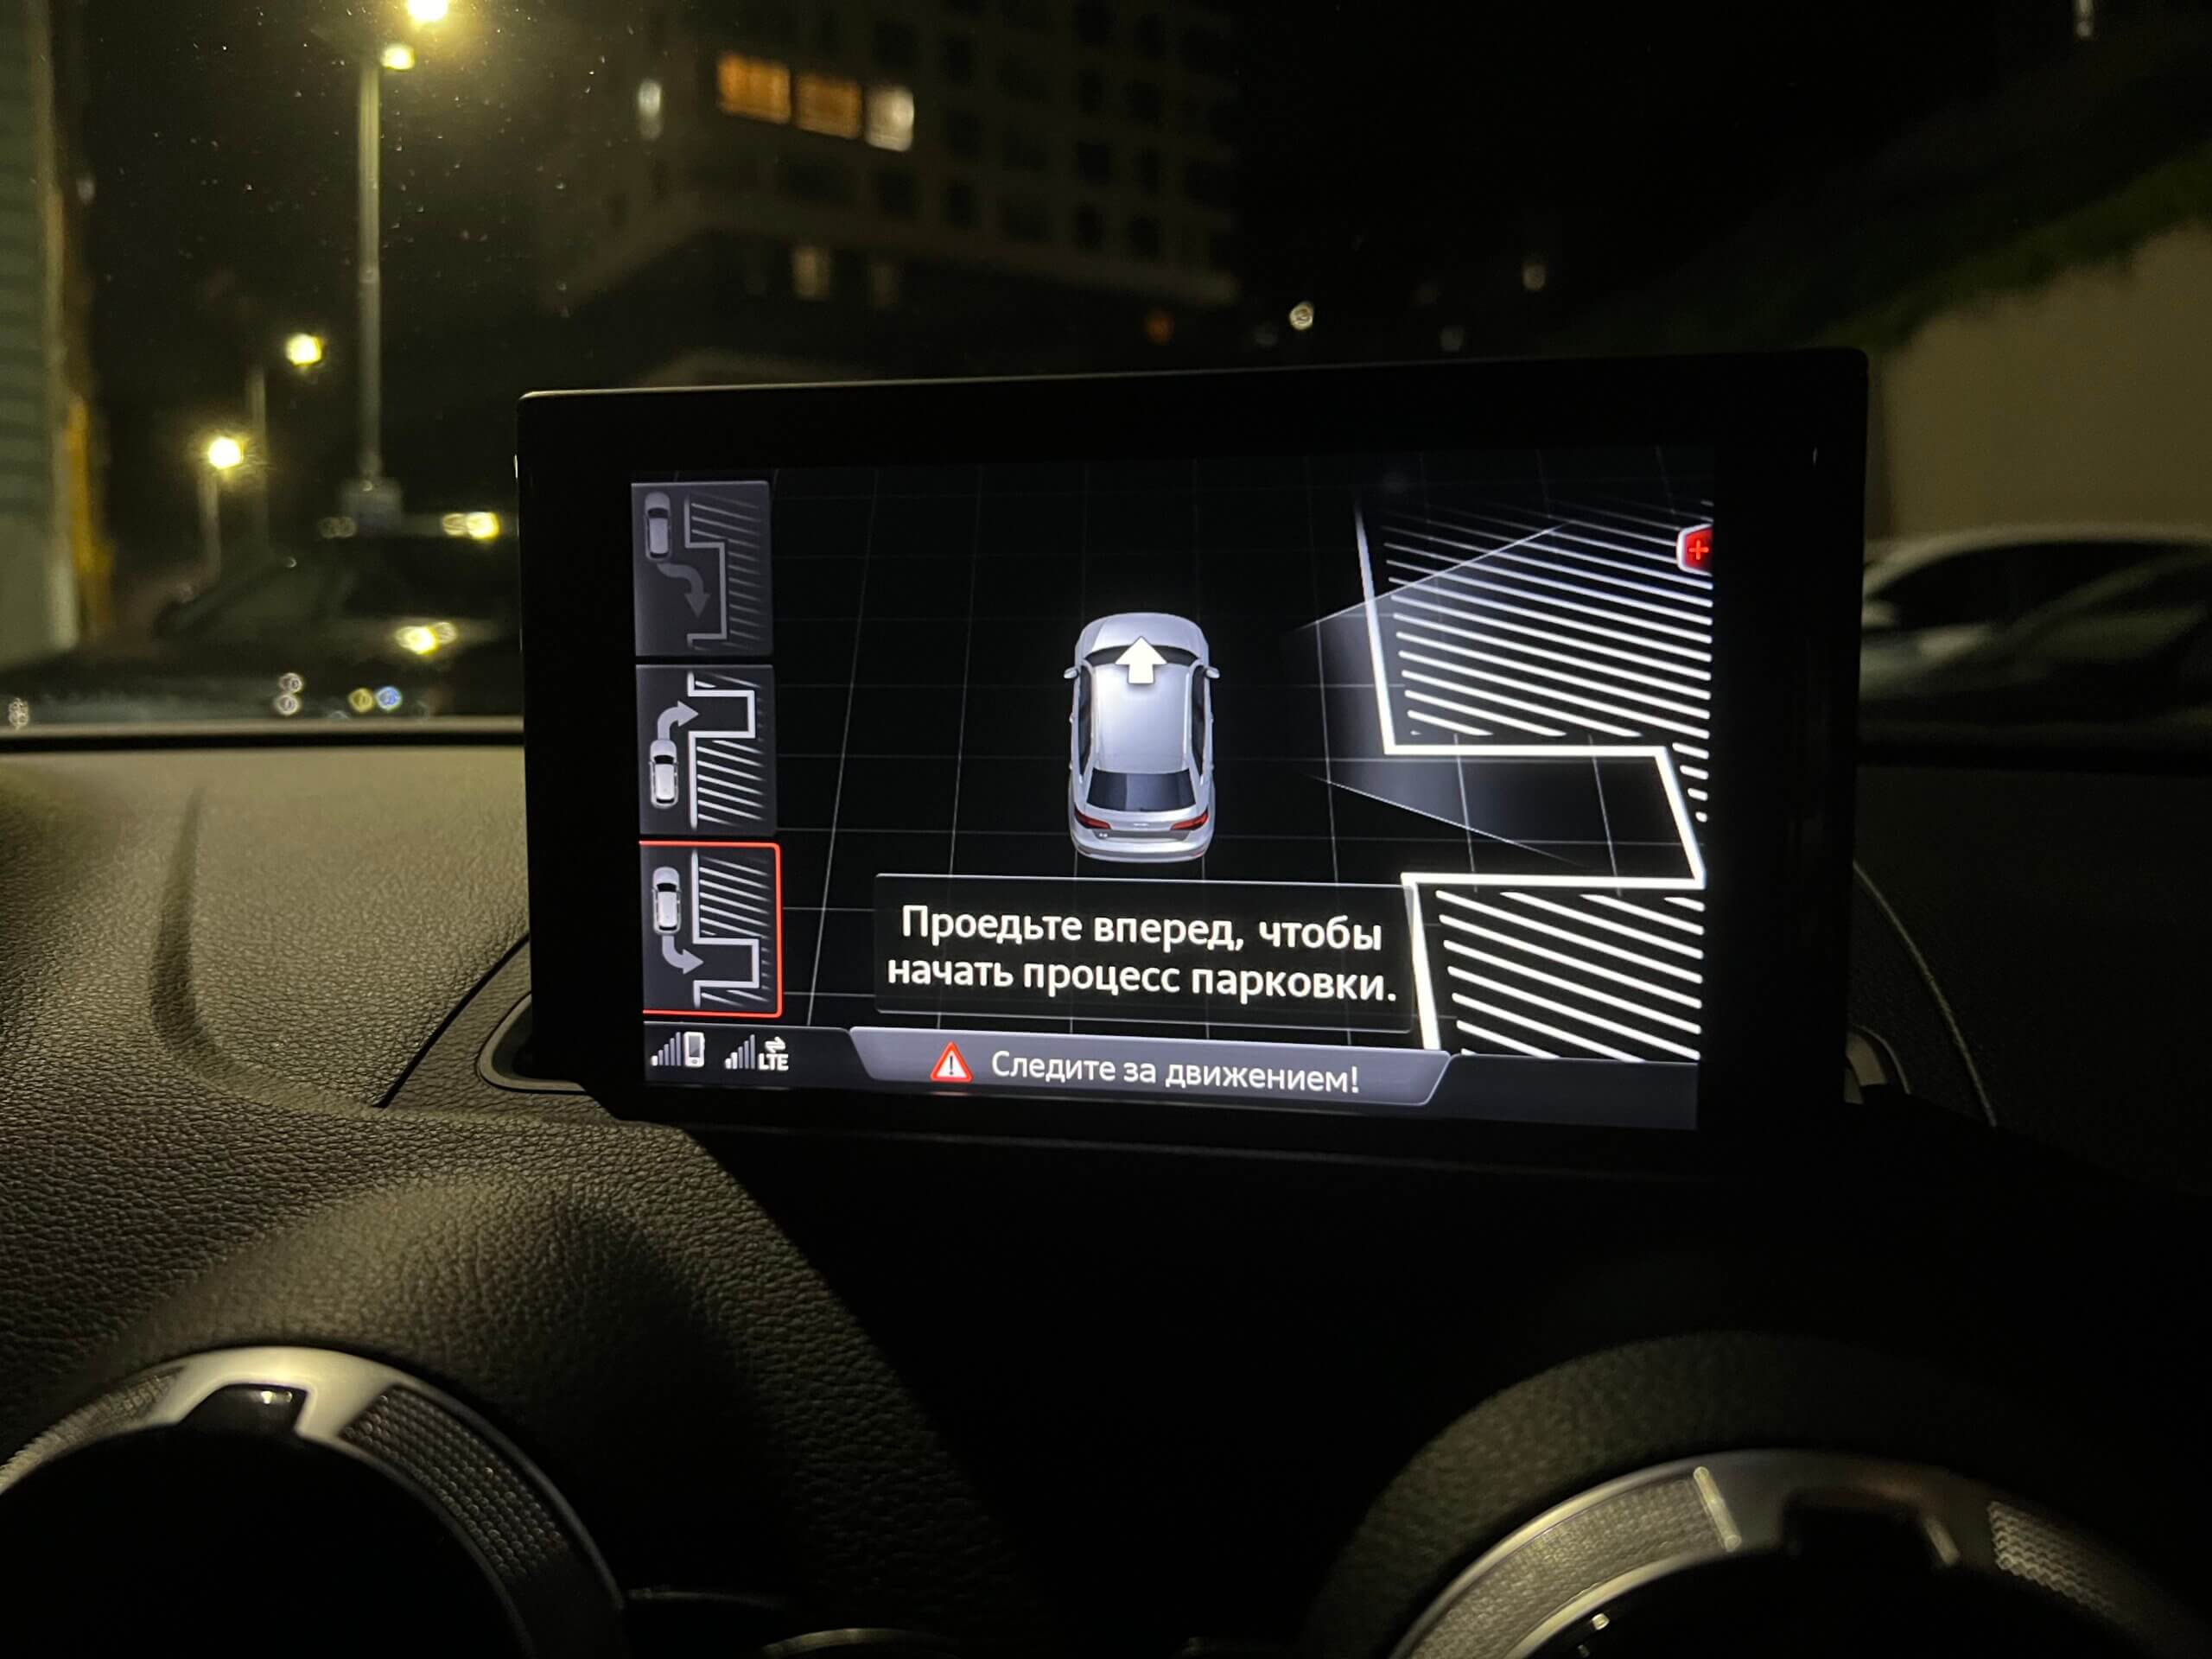
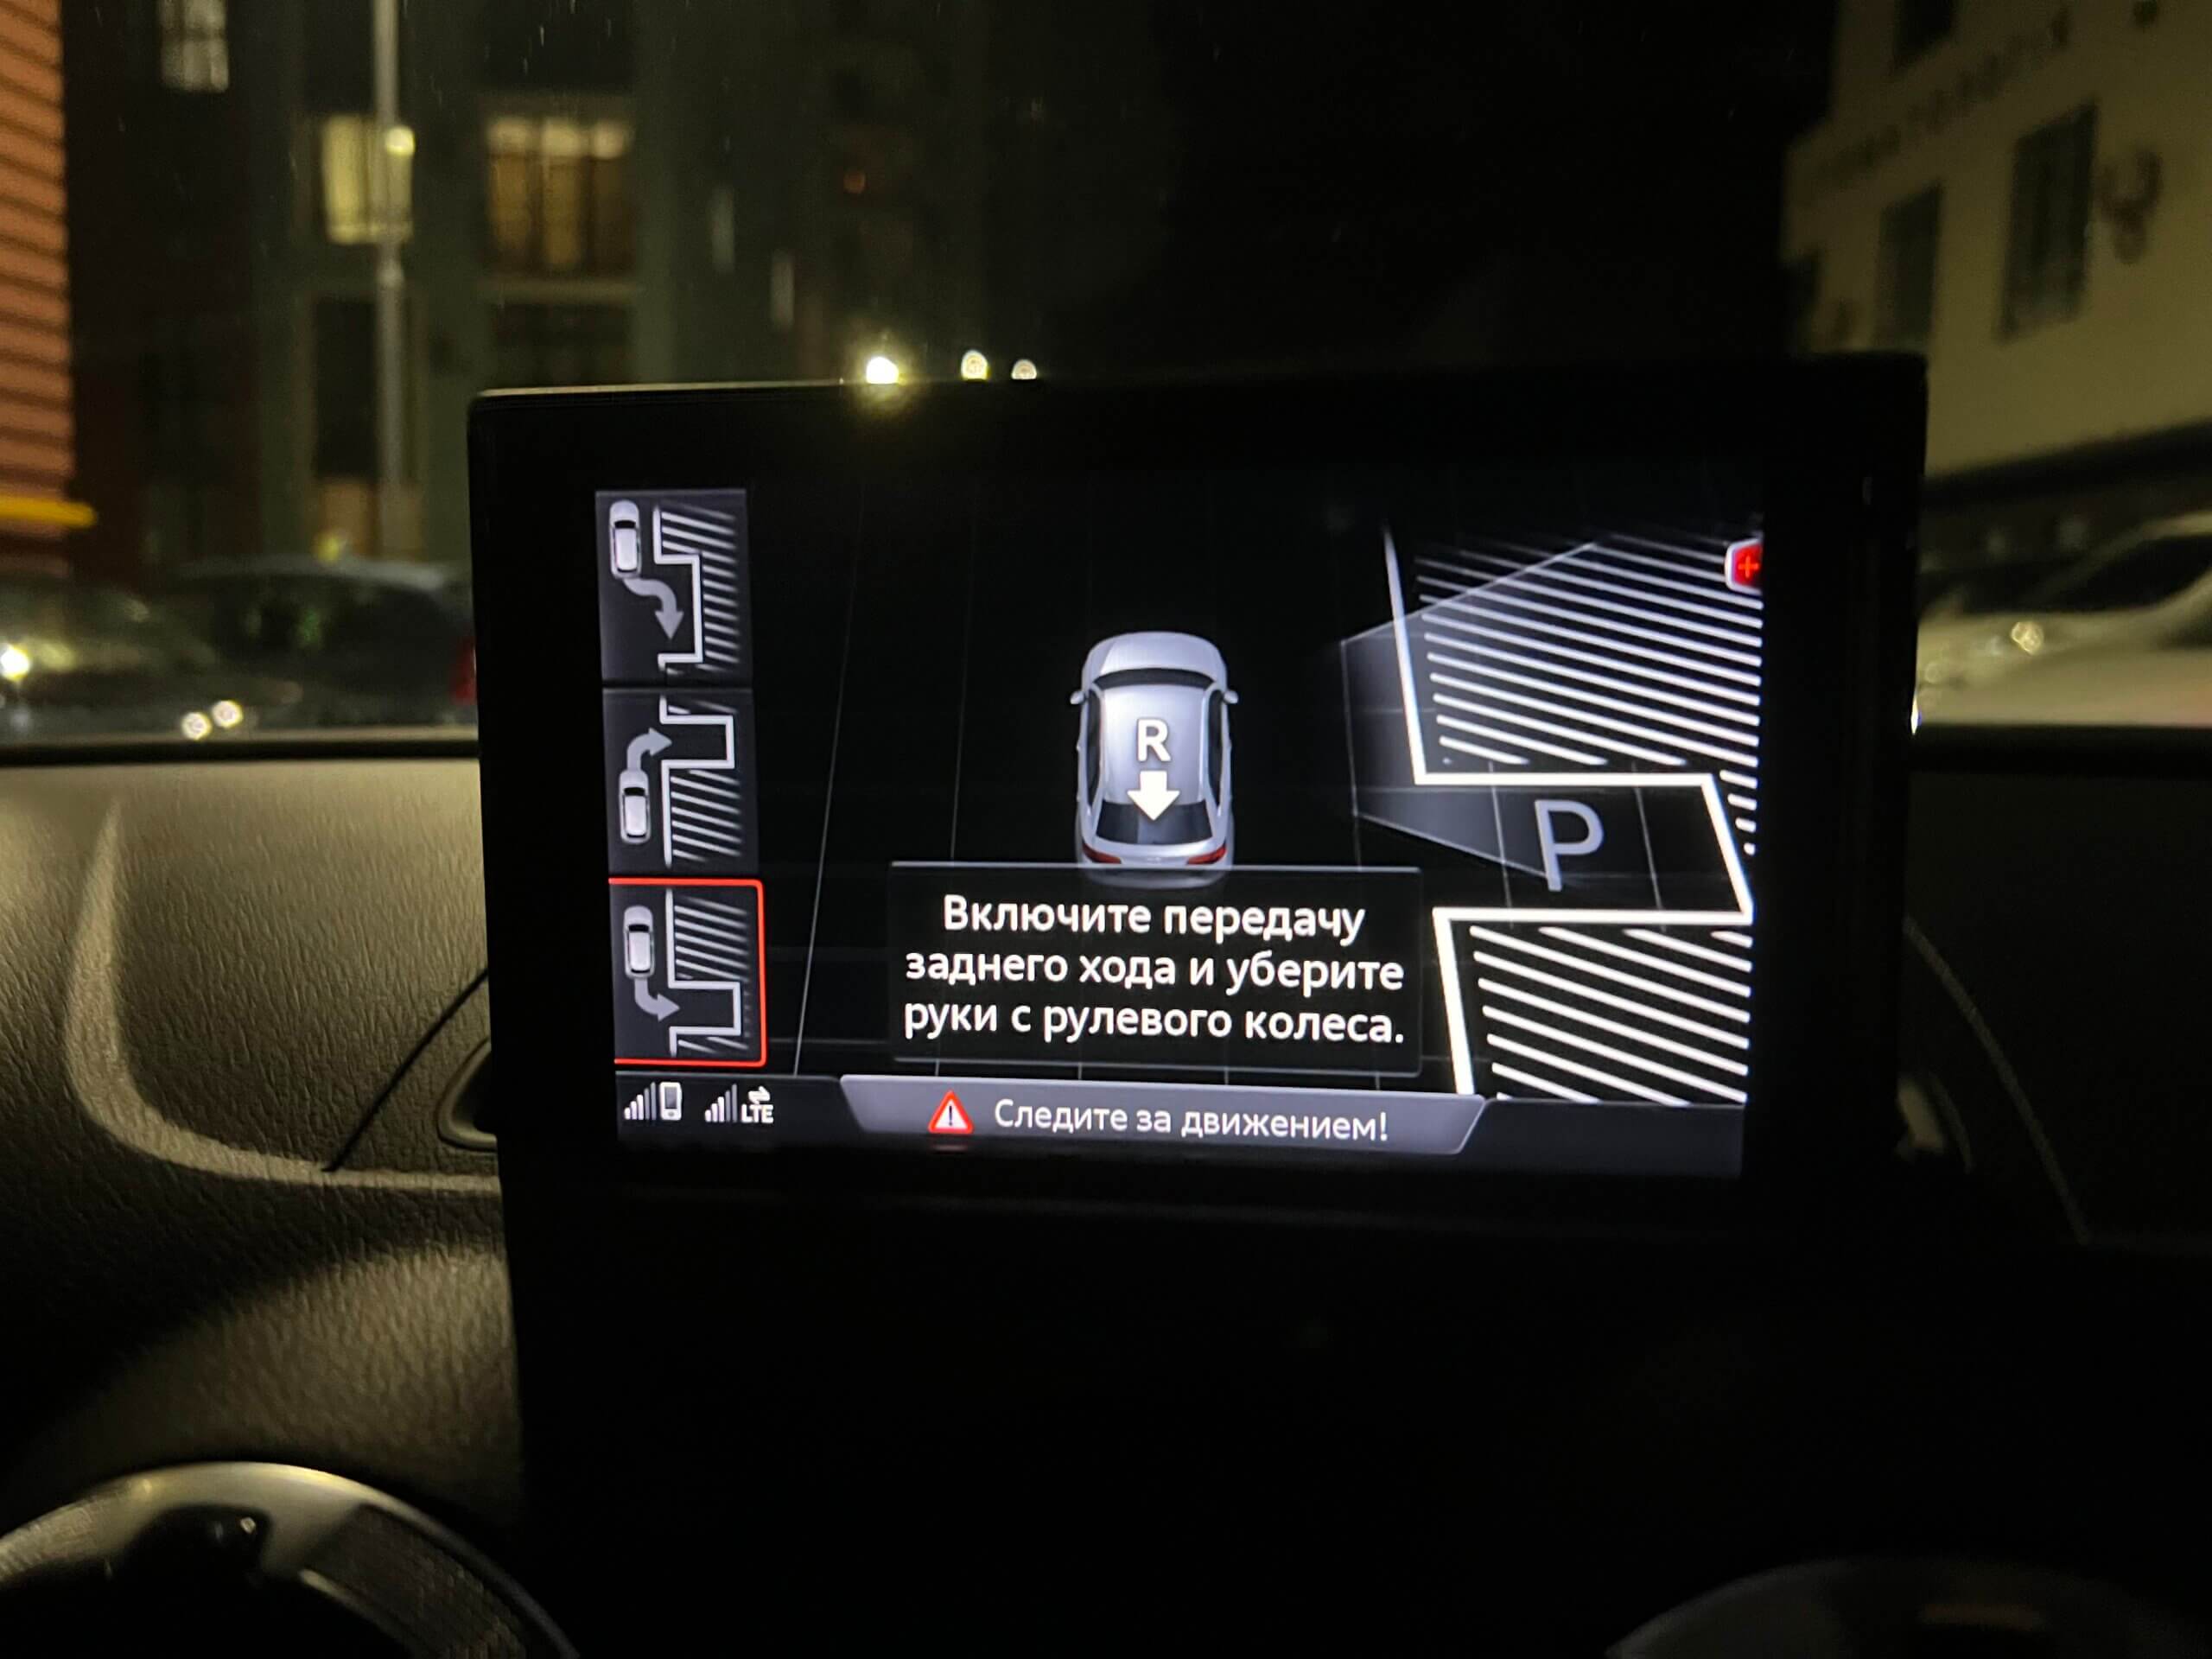
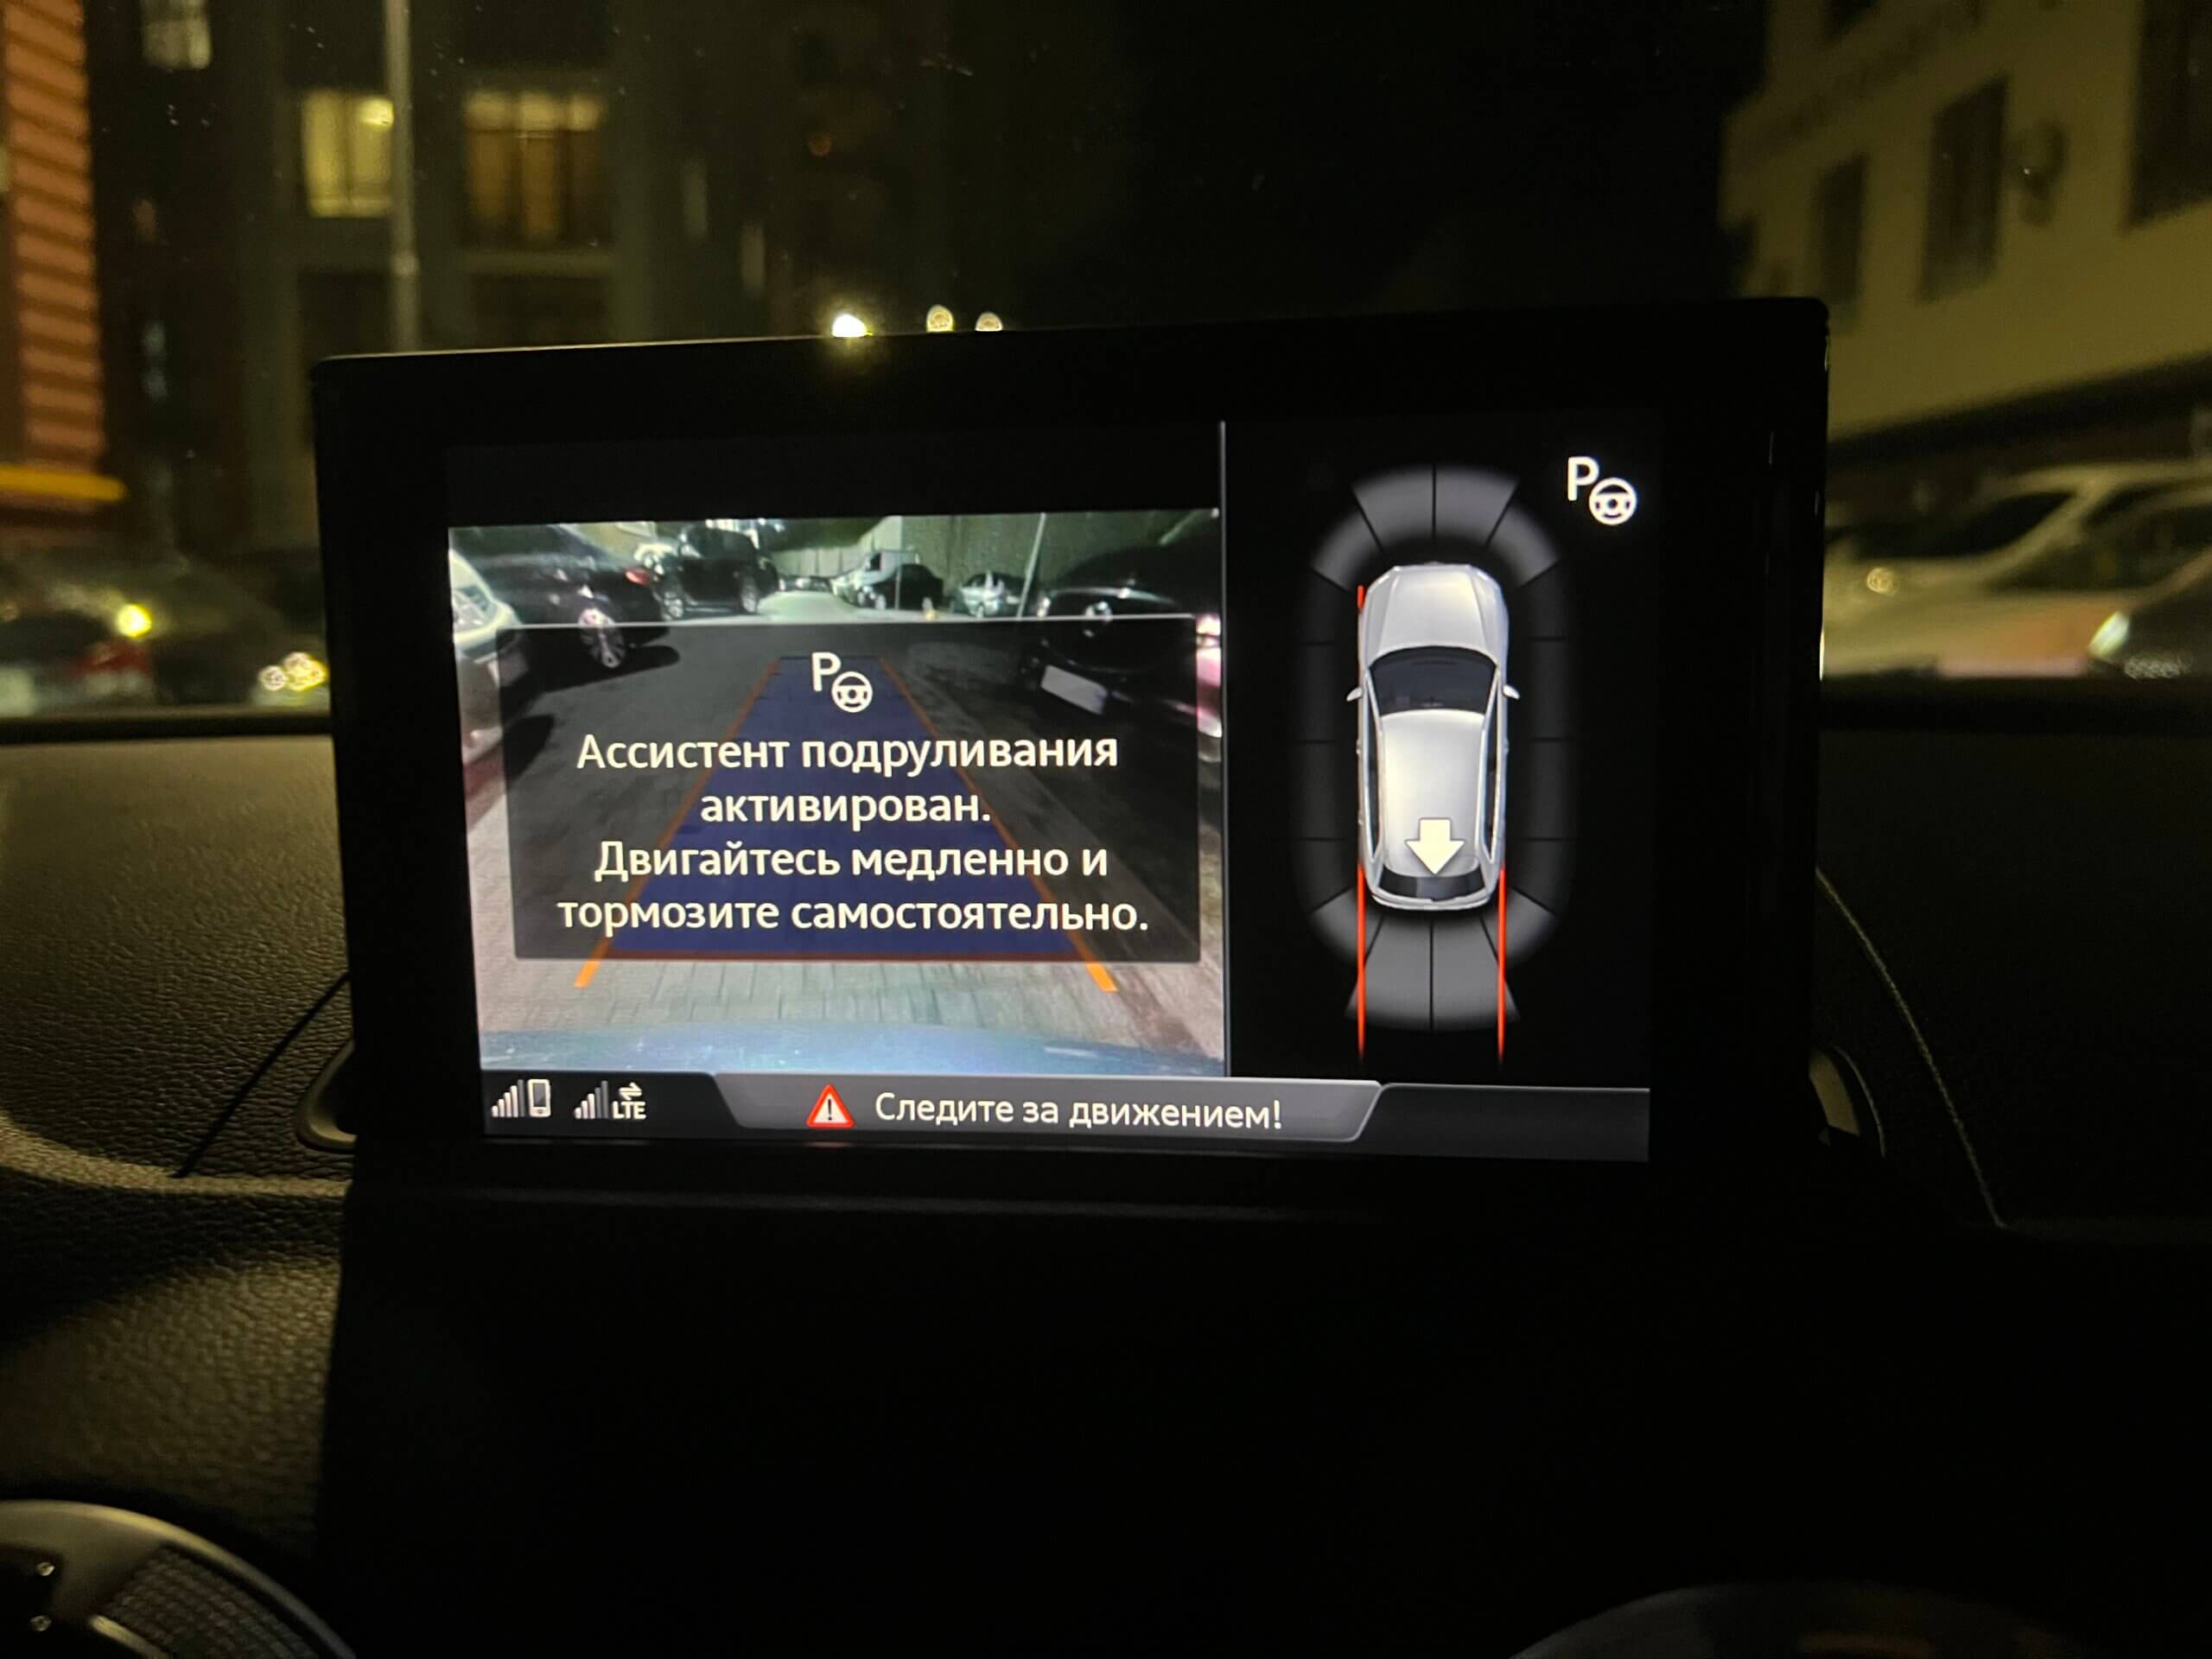
I’m very happy with the result — got exactly what I expected. People tried to talk me out of this retrofit, saying I’d rarely use it, but I actually use it quite often — it’s nice to relax a bit and let the car do all the work for you.